Connect Zoiper free Android soft-phones to RasPBX
Δημοσιεύθηκε: 4 Μαΐου, 2019 Filed under: Uncategorized | Tags: pi, raspberry, RasPBX, VoIP, zoiper ΣχολιάστεHello there.
I wanted to install Asterisk and FreePBX on one of my machines, so as to get acquainted with VoIP technology. As an easy solution, I chose a Raspberry pi 2 B (Rpi 2) as my hardware and two android phones with zoiper intalled.
As far as the software used, I selected the image downloaded from this link. It is actually RasPBX – Asterisk for Raspberry Pi image, based on the Raspbian Distribution (a Debian fork, customized for raspberry pi).
After downloading the image and unzipping it, i had to write it on a sdcard. As I am a linux user (fedora 29), I used the dd command. Before that, I had to be sure about the device name of my sdcard. I used gnome disks application to find out so (dev/sdc in my case). The command I used is:
«sudo dd bs=1M if=/home/user_name/Downloads/raspbx-04-04-2018.img of=/dev/sdc»
After the image was written on my sdcard (I originally used a 8GB sdcard), I inserted the card in my Rpi 2, connected my raspberry on my home router (with an ethernet cable ) and to my screen (via hdmi) and powered it up (standard micro usb 3Amp power supply).
I used ssh to connect to my Rpi 2 :
«ssh root@raspbx«, password: raspberry
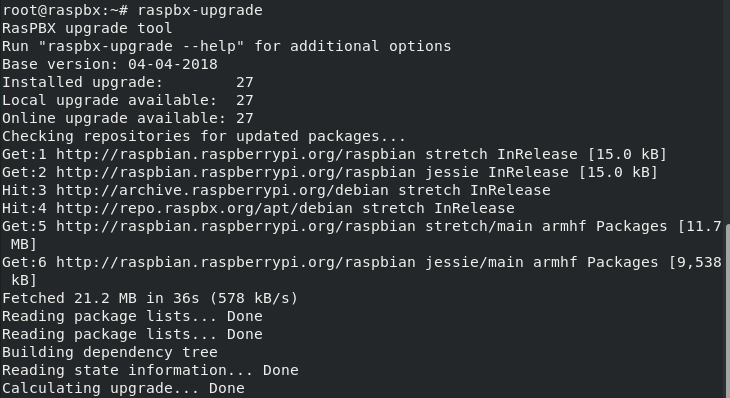
When connected we see the following screen.

The first thing to do is updating the system with the following command: «raspbx-upgrade», as described in that link and the following image.
Then I have followed steps 1, 3 and 5 of that link.
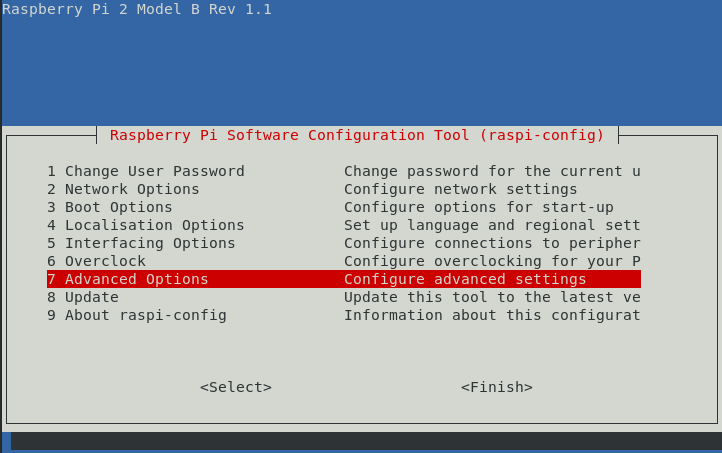
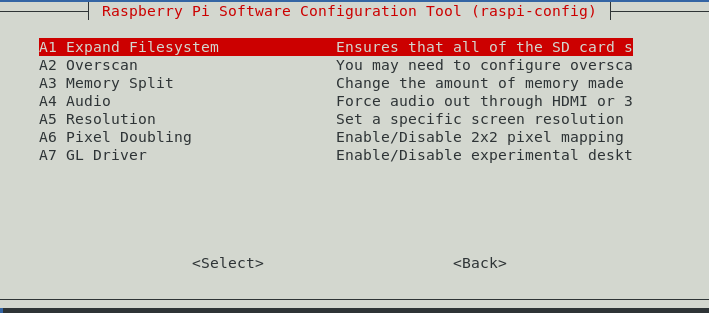
Step 1 has to do with expanding the filesystem to the whole extend of the sdcard (4GB image when installed on card), if your sdcard is bigger. The command is: » raspi-config». Select 7 «Advanced options» and then A1 «Expand Filesystem».
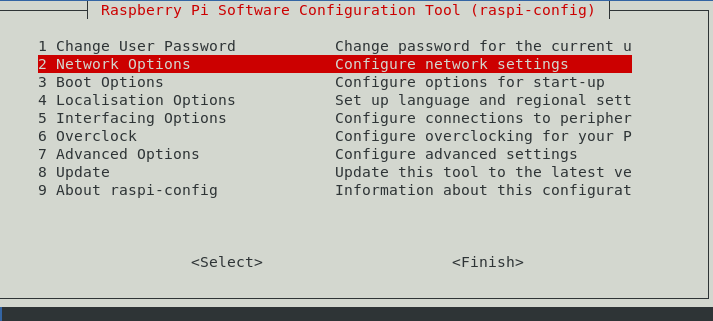
Also you can change the your hostname, by choosing 2 «Network options» and then N1 «Hostname». In my case I have changed hostname to «raspbx1»

Step 3 is about changing ssh keys [command : «regen-hostkeys»], changing timezone [command :»configure-timezone]» and configuring locale settings [command :»dpkg-reconfigure locales»].

Finally with Step 5 you can change Rpi 2’s password [command : «passwd»].
After that we are ready to connect and set up FreePBX via webpage, at the following address: «http://raspbx1». Alternatively, you can get there if you know the IP address of the machine (e.g. with the command «ifconfig» from the ssh terminal on Rpi 2). In my machine the IP is assigned via a DHCP server, providing IPs on a Ethernet bridge of my provider router, but it is a good practice to set the IP as static.
Then, set the Administrator user name, password and email, like in the image below.
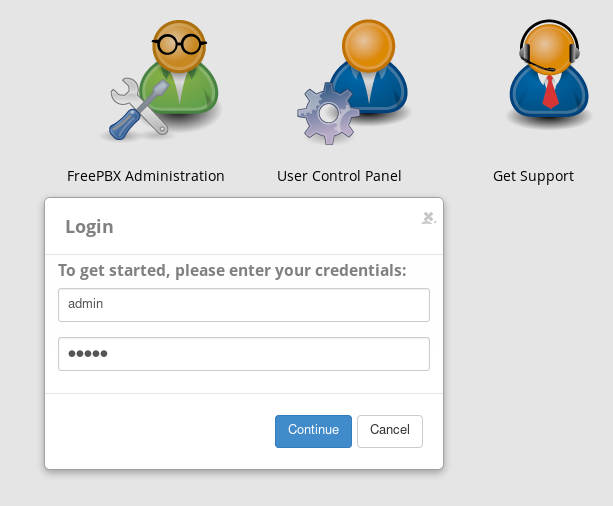
Then select FreePBX Administration

Enter user name and password created on previous screen
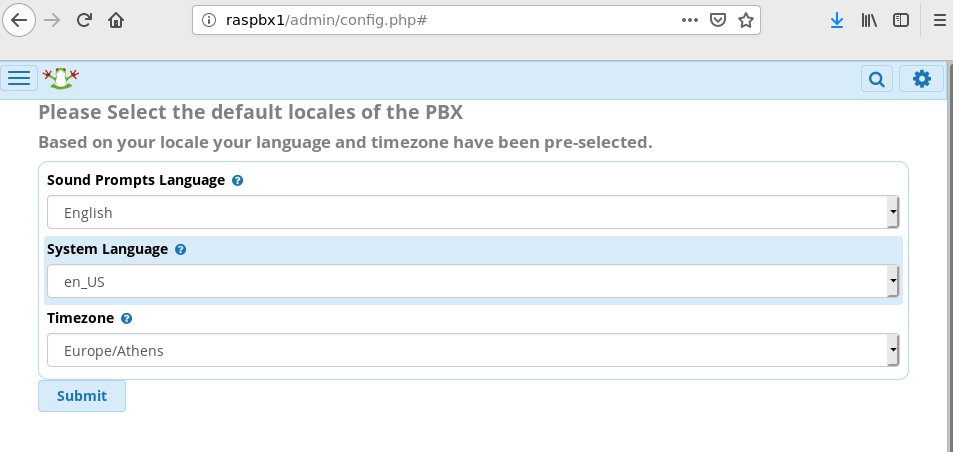
update locale
and then we are presented with the dashboard of FreeBPX, as shown on the following picture

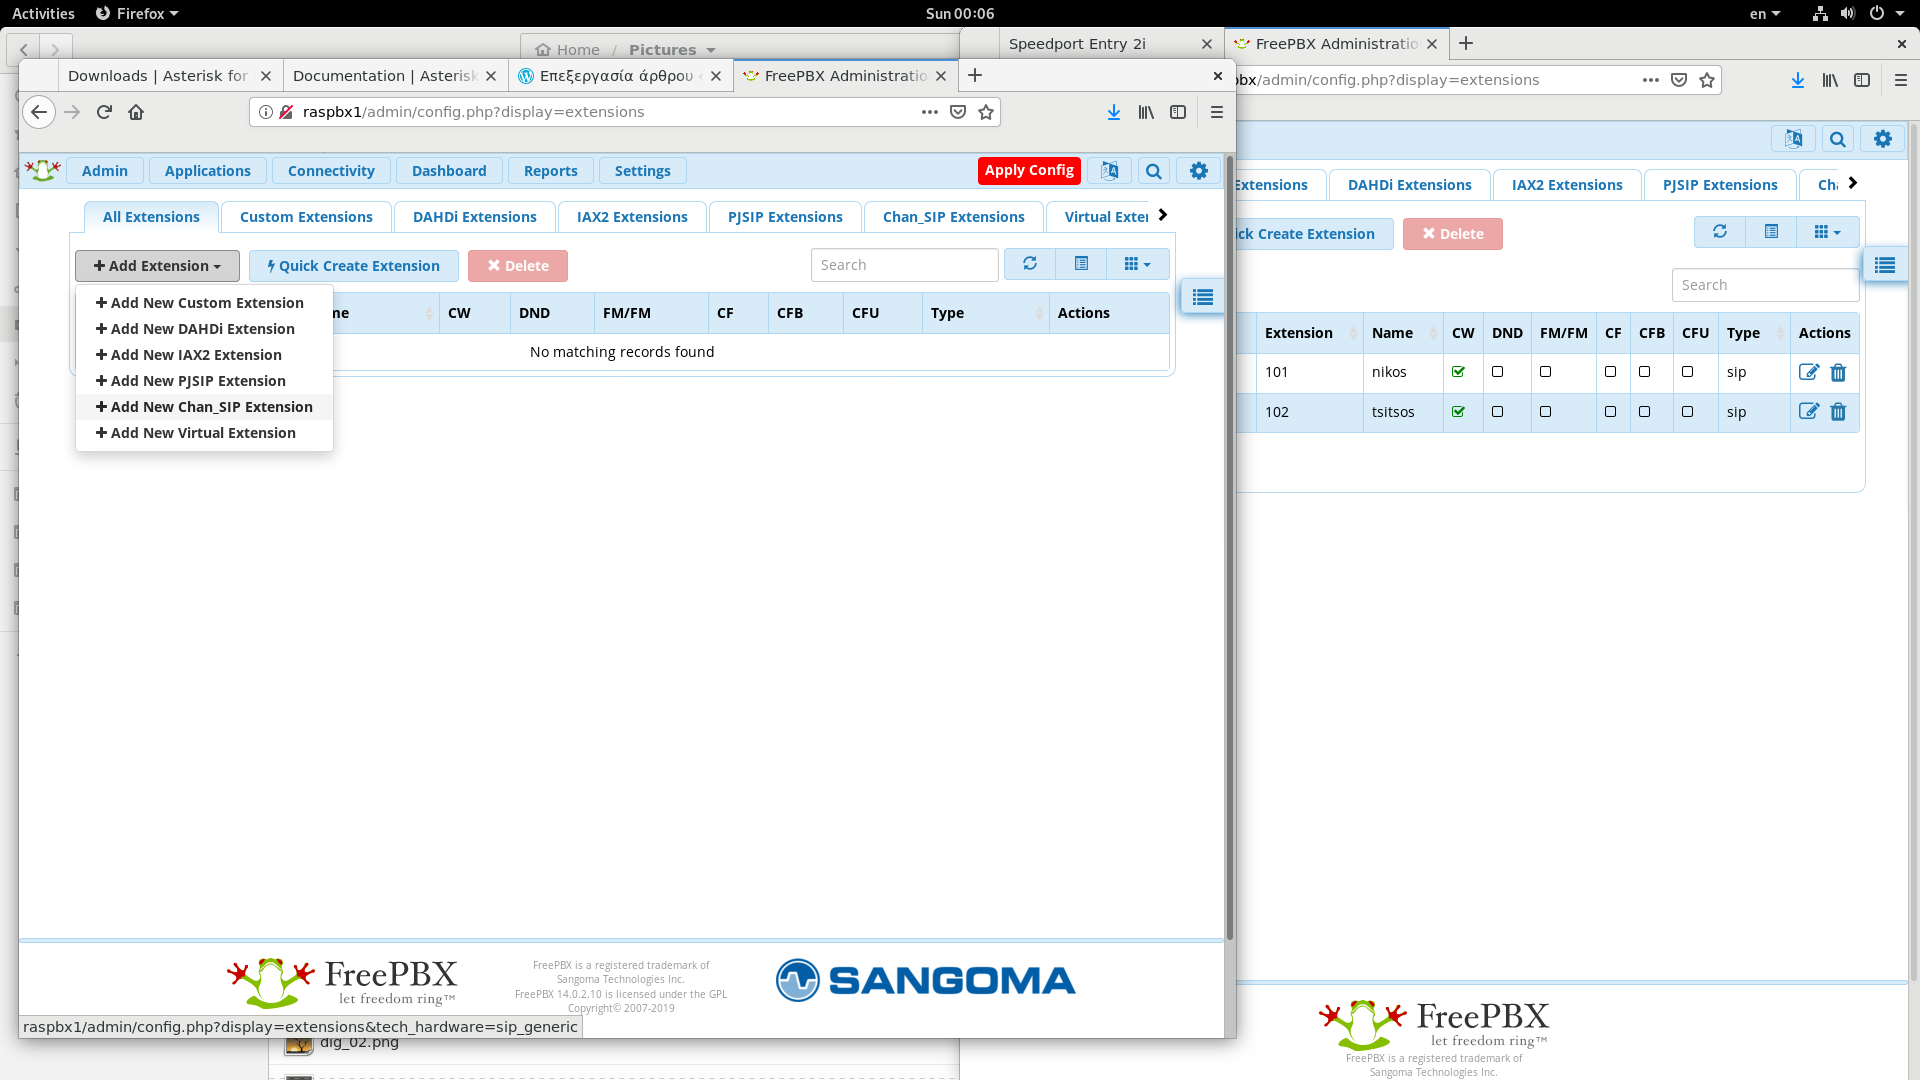
In the next step we will create extensions (VoIP soft-phone numbers) that will be connected to our IP PBX. Go to «Applications» and select «Extentions».

Then select «Add Extension»-> «Add New CHan_SIP Extention»
On Tap «General», set «User Extention», «Display Name» and «Secret» and hit «Submint»

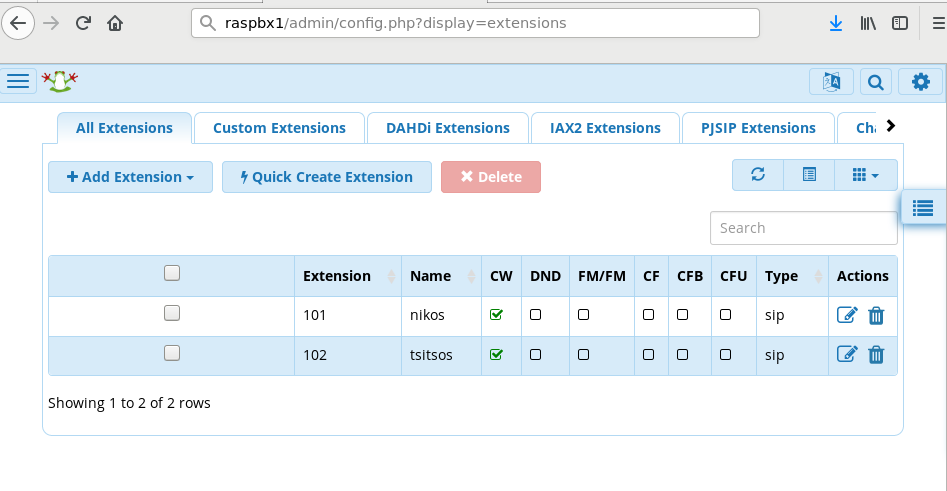
Then for my test environment, I have created a second user, SIP user 102. Don’t forget to «Apply Config» in every step. So at the end I have two users, as shown in the picture bellow.
Now, we have to install zoiper on two android phones, configure them an try to call one another.
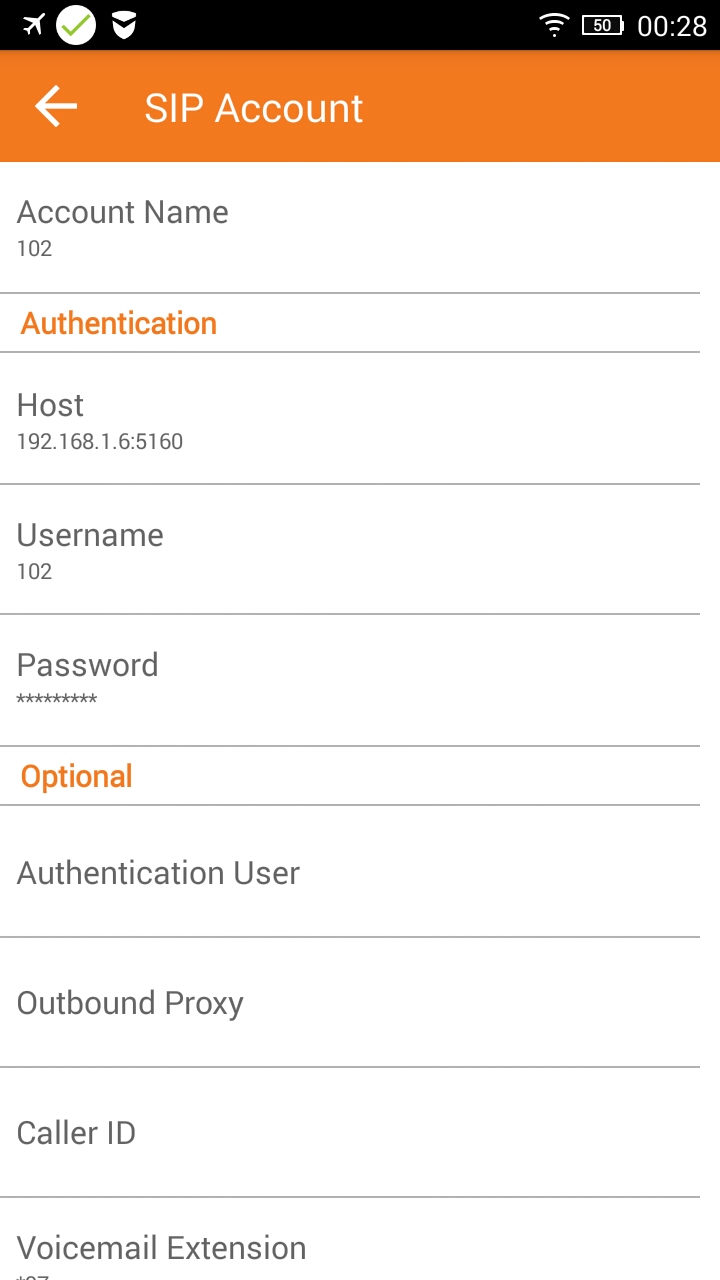
The configuration of the application, in each phone, is as shown bellow. We found out that the IP address of RasPBX machine is «192.168.1.6» (e.g. by executing ifconfig). Both cell phones and RasPBX are on the same subnet e.g. 192.168.1.0/24.


This video shows one soft-phone calling the other.
References:
- http://www.raspberry-asterisk.org/downloads/
- http://www.raspberry-asterisk.org/documentation/#nextsteps
- HOW TO: Install FreePBX on Raspberry Pi
- FreePBX 14 playlist
a13-olinuxino-MICRO-xfce
Δημοσιεύθηκε: 17 Ιουνίου, 2013 Filed under: A13-olinuxino-MICRO | Tags: micro, olinuxino-MICRO, olinuxion, xfce4 Σχολιάστε
This is my first attempt to install X and xfce4 window manager to my A13-olinuxino-MICRO. The recommended image from olimex Debian image has no X support. I wanted to install xfce4 WM but micro has no ethernet or wifi, so getting on line was an issue. This is what i did:
- I’ve downloaded the image (link is above) from olimex wiki
- copied it in my sdcard with this command: sudo dd bs=4M if=~/<somewhere_in_my_pc>/A13_Micro_Debian_1GHz_GPIO_100kHz_I2C_WIFI_USB_LAN_without_X_and_touch_first_release.img of=/dev/sdd (sdd is my sdram card). Now my olinuxino-MICRO boots into the classic screen prompting for user name and password (username:root/password:password).
- Now the first question I had was: how can you install packages without ethernet or wifi? What i did was downloading packages from debian via my desktop (which was connected to the internet) and used them to install all the additional packages i needed. This is what I did in detail:
- I’ve downloaded the latest iso of debian with xfce window manager from this link, and extracted the iso to my hard drive with an archiving program.
- Then I’ve copied debian-7.0.0-armhf-xfce-CD-1/pool/main folder to a usb drive, which i’ve mounted to my olimex board (mount /dev/uba1 /media/test, where test is a folder I have created inside media folder), via a usb hub. In the hub i have also attached a wireless keyboard with a touchpad. In the above picture you can see my setup.
- My plan was to install the packages needed for X and for the window manager, by setting up a local repository in a usb drive. I have followed the instructions on this link, but I failed to install a local repository, so I started installing every package by had (command:dpkg -i package_name.deb), after installing all of its dependencies. It took me almost two evenings to do so, but I finally did it!
- This is the image I have created! I have installed openoffice, icewheasel, python and a few small apps. Download the tarred-gziped file and bytecopy it with dd (like the command above) to your sdcard. Enjoy!

Πρόσφατα σχόλια